

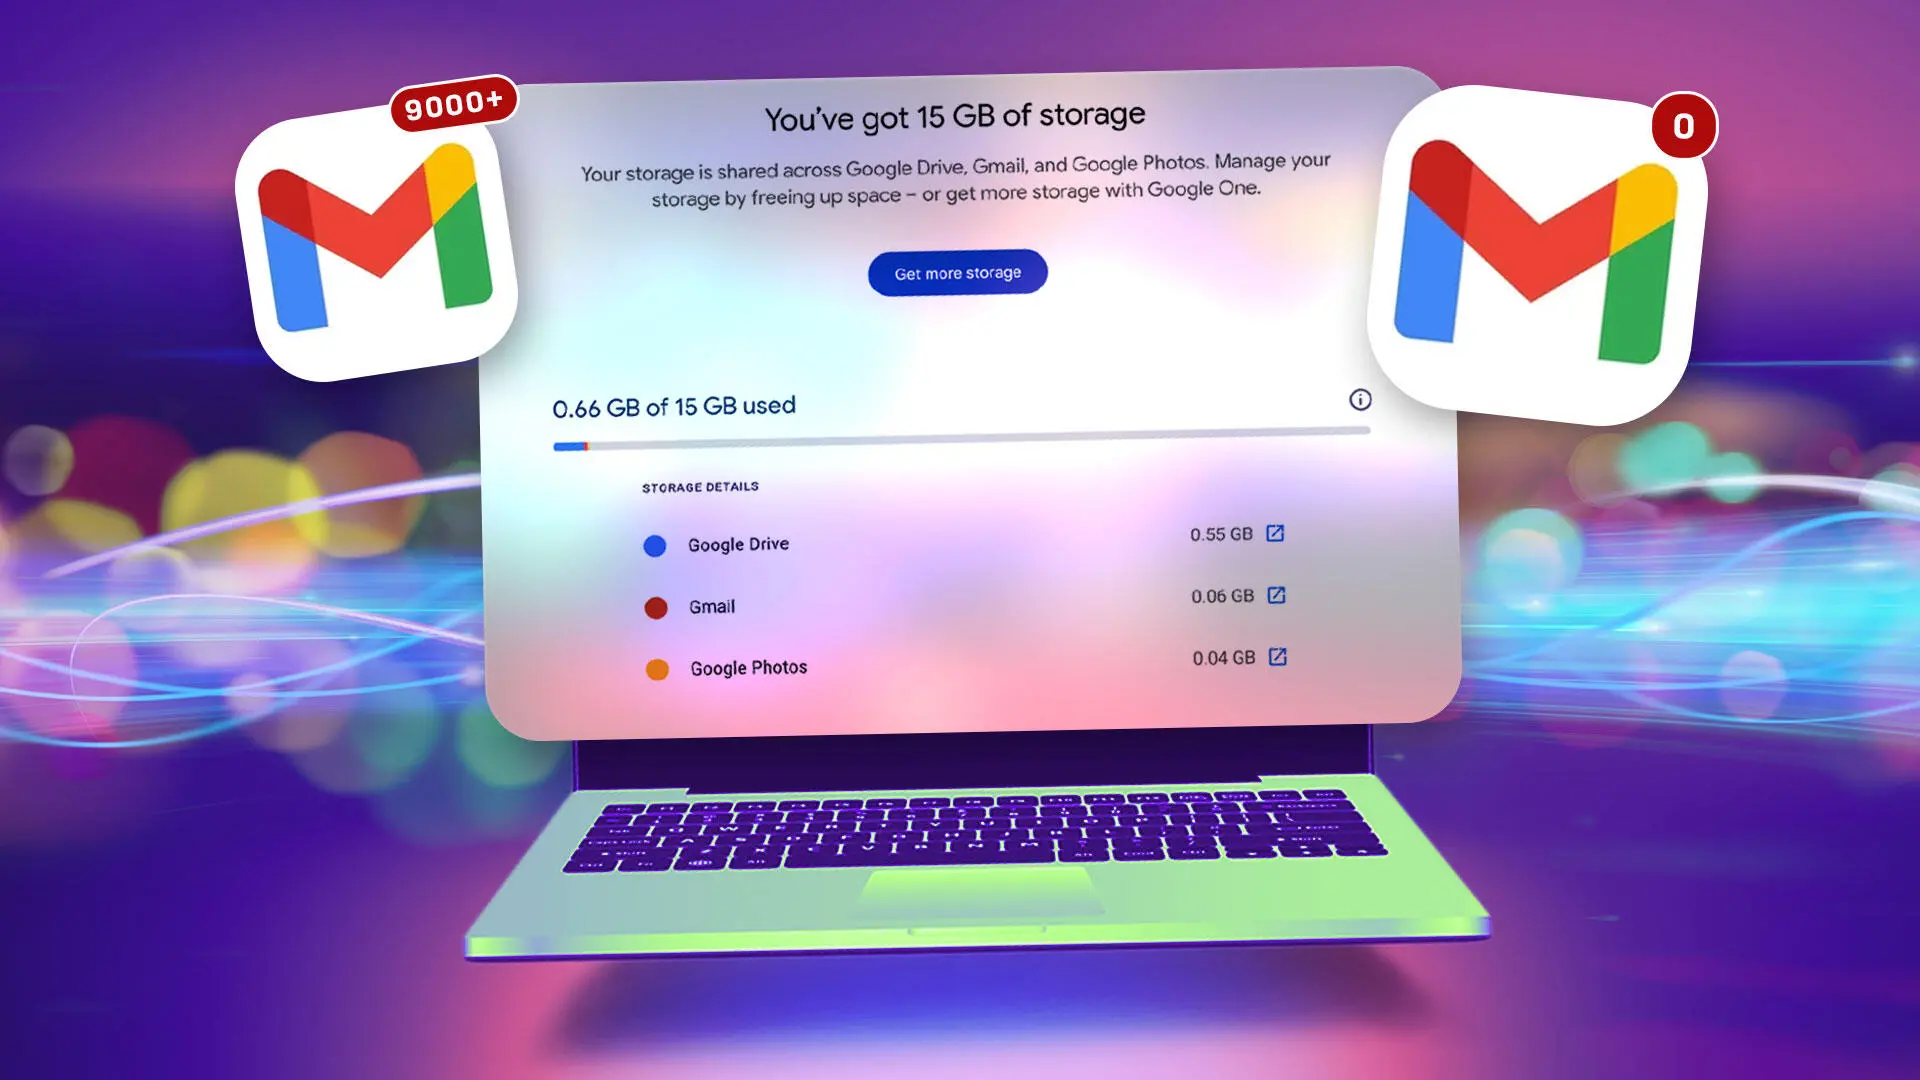
Your Gmail inbox is probably overflowing. Those thousands of messages you’ve been hoarding are eating up your free 15GB of storage, which is shared with Google Drive and Google Photos. Instead of paying for a Google One subscription or spending hours deleting emails, there’s a clever workaround: transfer everything to a second, dedicated archive account using Google’s POP3 protocol. But you need to act fast—Google is shutting down POP3 support later this year.
Here’s the plan: Move your old emails to a new account, wipe your primary inbox clean, and enjoy a fresh start without spending a dime. This process is straightforward, but it does require a few steps and some patience. Let’s dive into why you should do this and exactly how to pull it off.
Why Your Gmail Storage Fills Up So Quickly
The 15GB of free storage Google provides for Gmail, Google Drive, and Google Photos might seem generous, but it disappears fast. High-resolution photos, attached videos, and large PDFs all contribute to the bloat. Once you cross the 15GB threshold, you can no longer send or receive emails. That’s when you see the dreaded “storage full” warning. Many users respond by upgrading to Google One—100GB for $20 per year. But if you’re only storing old emails you rarely need, paying that annual fee feels wasteful.
An alternative is to manually delete large files. Gmail even offers a search tool to find emails with attachments over a certain size. But sifting through years of correspondence to decide what to keep or delete is tedious. Downloading everything to your computer isn’t ideal either—it just shifts the storage problem to your local drive. That’s where the “nuclear option” of transferring emails to a new account comes in. It gives you a clean slate without losing anything.
The Time-Sensitive Opportunity: POP3 Support Ending
Google has announced that it will end support for POP3 (Post Office Protocol 3) this year. New users lost access in the first quarter of 2026, but existing users can still use POP3 until later in the year. After that, you won’t be able to use the method described here. If you want to take advantage of this free storage loophole, you need to act now. Once POP3 is gone, you’ll have to rely on IMAP or Google Takeout for transfers—both of which are less convenient for a full mailbox migration.
How to Transfer Your Gmail Messages to a New Account
The process involves three main phases: backing up your old emails, setting up POP3 on your original account, and importing those messages into a new account. Let’s go through each step carefully.
Phase 1: Back Up Your Emails
Before making any changes, back up your data. Use Google Takeout (takeout.google.com) to download a copy of your Gmail messages. Select only Gmail from the list of products, choose your preferred export format (usually .mbox or .zip), and start the export. For an account with 75,000 messages, this took about two hours. Once the backup is downloaded to your computer or an external drive, you can proceed with the transfer.
Phase 2: Enable POP3 on Your Old Account
Log into your original Gmail account. Click the gear icon in the top right, then See all settings. Go to the Forwarding and POP/IMAP tab. Under “POP Download,” select Enable POP for all mail. Then choose what happens when messages are accessed via POP. To automatically delete emails from your original account after transfer, select delete Gmail’s copy. Click Save Changes.
This setting tells Gmail to serve every email to any POP3 client, and it will remove the emails from your inbox once they’ve been fetched. Perfect for cleaning house.
Phase 3: Create Your Archive Account and Import Emails
Create a brand new Gmail account—this will be your archive. Log into that new account, go to Settings > See all settings, and select the Accounts and Import tab. Next to “Check mail from other accounts,” click Add a mail account. Enter your original Gmail address and click Next.
Choose Import emails from my other account (POP3) and click Next. Enter the password for your original account. You may need an app password (see note below). Set the port to 995. Check these three boxes:
- Always use a secure connection (SSL) when retrieving mail
- Label incoming messages
- Archive incoming messages (Skip the Inbox)
Click Add Account. Then choose Yes, I want to be able to send mail as [your original Gmail address] if you wish, and close the pop-up. The transfer will begin automatically.
The App Password You’ll Probably Need
During my tests, the standard Google password didn’t work for the POP3 connection. You’ll likely need a Google app password. App passwords are 16-digit codes meant for less secure apps or devices. To create one, go to myaccount.google.com/apppasswords (note: you must have 2-Step Verification enabled). Create a name like “Transfer Bulk Email” and click Create. Google shows the password only once—write it down or copy it immediately. Use this app password in place of your regular password when setting up the import.
After the transfer completes, you should delete the app password for security. You can do so from the same page.
What to Expect During the Transfer
The transfer time depends on the number of emails. In my test with 75,000 messages, it took approximately two full days. During this period, your new archive account will pull messages from your old account. You can check progress by looking at the label you assigned in step 7 (e.g., “Imported”).
Once all messages are imported, your original account will place them in the Trash folder. You must manually empty the Trash to regain storage. For 75,000 messages, emptying Trash took about an hour. After that, my test account went from using over 12GB (80% of free space) to just 0.66GB—a huge recovery.
What Won’t Be Transferred
Two types of messages are not transferred: Drafts and Spam. Drafts remain in your original account—you’ll need to handle them manually. Spam messages are automatically deleted every 30 days, so you can ignore them or delete them in advance. If you want to keep any spam messages, forward them manually before the transfer.
Final Steps After the Transfer
Once all emails have been imported, you need to stop the automatic transfer to avoid future syncs. Log into your archive account, go to Settings > See all settings > Accounts and Import. Under “Check mail from other accounts,” click delete next to your original account. Confirm the deletion. If you created an app password, delete it from the app passwords page.
One important note: Google deletes accounts that have been inactive for more than two years. So, even if you don’t plan to use your archive account for regular email, sign into it at least once every two years to keep it active.
By following these steps, you’ll reclaim your 15GB of free storage without losing a single email. All your old messages are safely stored in a separate account, and your primary inbox is clean and functional. There’s no need to pay for extra storage or spend hours deleting individual messages. Just remember to act before Google removes POP3 support later this year—after that, this workaround will no longer be available.
Source:CNET News