

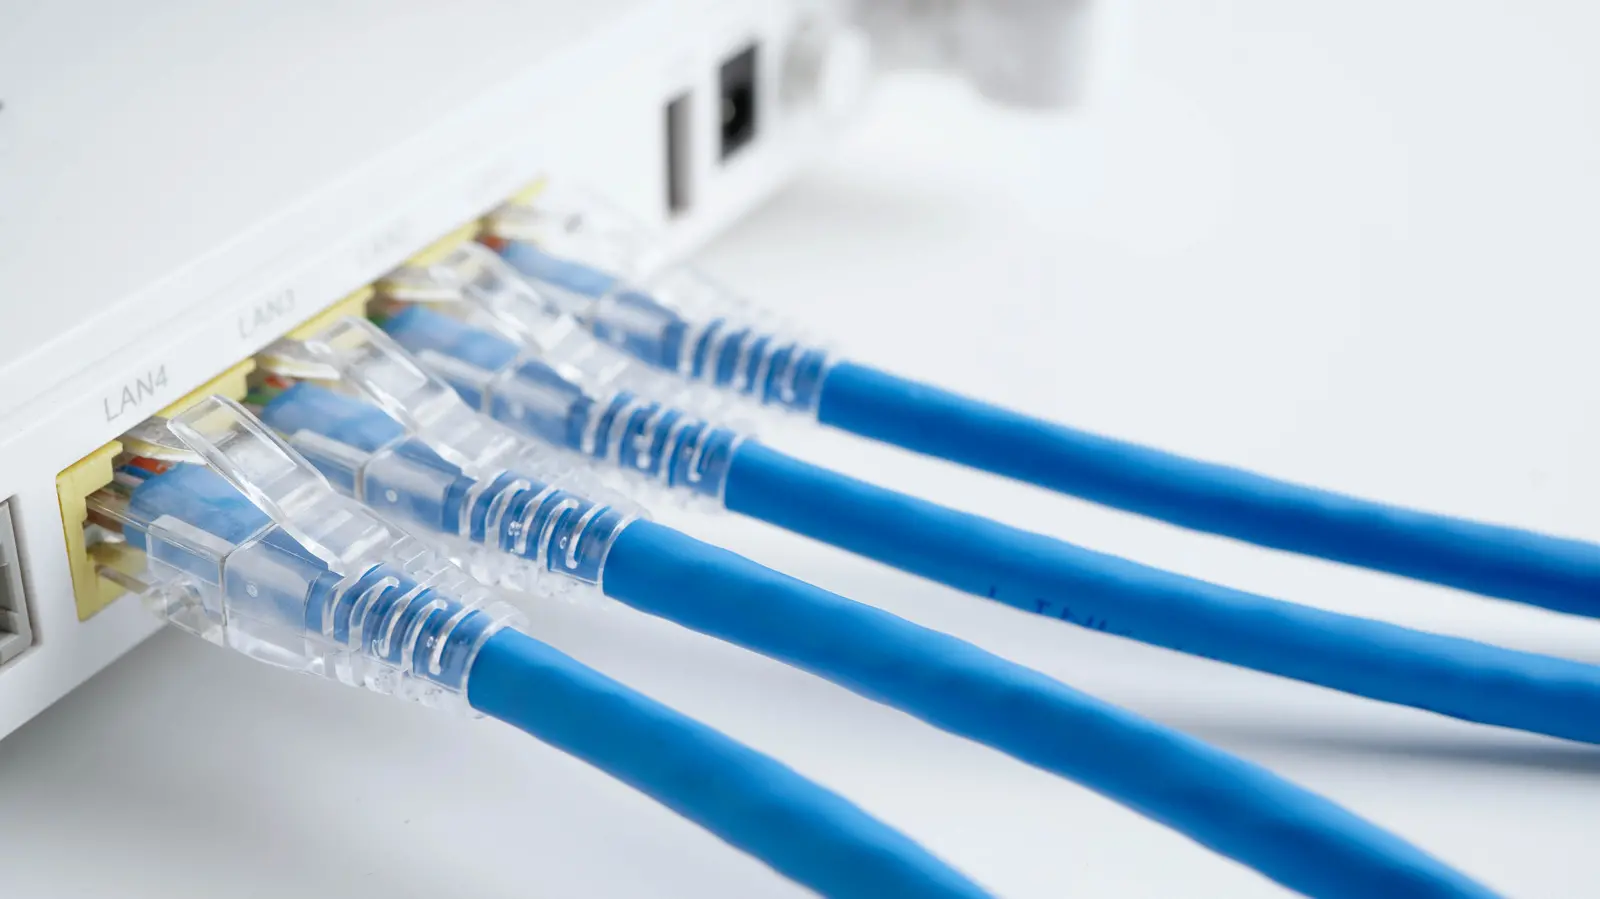
The average home router comes with four or five Ethernet ports. For most households, that seems like plenty, especially when smartphones, tablets, and laptops rely on Wi-Fi. But if you decide to switch to wired connections for better reliability and lower latency, those ports suddenly feel scarce. Ethernet remains superior to Wi-Fi in many ways. It offers stable speeds, reduced interference, and consistent performance. Yet the limited number of ports on a typical router can make a full wired setup look impractical.
A network switch solves this problem by expanding the number of available Ethernet ports. It connects multiple devices to a single LAN port on your main router. Switches are inexpensive, but if you have an old router sitting in a drawer, you can turn it into a functional switch for free. Most routers, including older models, can work as a switch with a few changes to their settings. Some routers even come with a dedicated switch mode that automates the configuration. If yours does not, the manual process is straightforward and only takes a few minutes.
Before you start, it is important to understand one limitation. The WAN or Internet port on the old router typically cannot be used in this configuration. That port is designed to connect to a modem or another router's WAN side. When repurposing an old router as a switch, you will use only its LAN ports. One of those LAN ports will be occupied by the cable connecting to your main router. So, if the old router has four LAN ports, you will have three usable ports for your devices. If it has five LAN ports, you will have four usable ports.
Setting up your router as a network switch
The first step is to reset the old router to its factory default settings. This clears any previous configurations that might interfere with the new setup. You can usually perform a reset by pressing and holding the reset button on the back of the device for about ten seconds. Once the router restarts, connect it to a computer using an Ethernet cable. Plug the cable into one of the LAN ports on the router, not the WAN port.
Next, you need to access the router's admin panel. Open a web browser and enter the router's default IP address. Common addresses are 192.168.1.1 and 192.168.0.1. The exact address and login credentials are often printed on a sticker attached to the router. If you do not know the credentials, try the default combinations like admin/admin or admin/password. After logging in, look for the DHCP settings. The location of this section varies by router brand, but it is usually under a menu labeled Network, LAN, or Setup.
DHCP stands for Dynamic Host Configuration Protocol. It is the service that automatically assigns IP addresses to devices on a network. Your main router already handles DHCP for your entire home network. If the old router also has DHCP enabled, it will start handing out IP addresses to devices connected to it. This can cause IP address conflicts. Two devices on the same network might end up with the same IP address, leading to connectivity issues. Disabling DHCP on the old router prevents this problem.
After disabling DHCP, you need to assign a static IP address to the old router. This is necessary so that you can still access its settings in the future. The IP address you choose must be different from the main router's IP address and outside the range of addresses that the main router assigns via DHCP. For example, if your main router uses 192.168.1.1 and its DHCP pool ends at 192.168.1.150, you can give the old router the IP address 192.168.1.151. The subnet mask should be the same as the main router, typically 255.255.255.0.
Once you have entered the new IP address and saved the changes, the old router may reboot. After it comes back online, log in again using the new IP address. Now you should look for settings related to NAT, firewall, and DNS server. NAT, or Network Address Translation, is used by routers to map private IP addresses to a public IP address. Since the main router already performs NAT, having NAT enabled on the old router can cause double NAT, which may interfere with online gaming, port forwarding, and certain network services. Disable NAT if the option is available. Similarly, the firewall and DNS server settings on the old router should be turned off to avoid conflicting with the main router.
Finally, connect the old router to your main router. Use an Ethernet cable and plug one end into a LAN port on the main router and the other end into a LAN port on the old router. Do not use the WAN port. Once the cable is connected, the old router will act as a network switch. You can now plug any wired device into the remaining LAN ports of the old router. Those devices will receive an IP address from the main router and will be able to communicate with everything else on your network.
It is worth noting that some routers have an automatic switch mode that does most of this work for you. In such cases, you simply enable the mode and follow the on-screen instructions. However, the manual method described above works on virtually any router and gives you full control over the configuration.
Should you use an old router as a network switch?
Whether repurposing an old router is the right choice depends on your needs and expectations. If you already have an old router and the necessary Ethernet cables, this solution is practically free. It is an excellent way to reduce electronic waste and get more use out of hardware that would otherwise sit unused. For everyday tasks like connecting a desktop computer, a smart TV, or a game console, a repurposed router works perfectly fine as long as you understand its limitations.
The biggest drawback of using an old router as a switch is the speed of its Ethernet ports. Many older routers are equipped with Fast Ethernet ports, which support a maximum speed of 100 Mbps. If your internet plan delivers more than 100 Mbps, those ports will become a bottleneck. Your wired devices will only be able to reach 100 Mbps, even if your main router and modem are capable of much faster speeds. Gigabit Ethernet ports, which support speeds up to 1,000 Mbps, did not become standard on budget routers until recent years. If your old router is more than five to seven years old, there is a good chance it has 100 Mbps ports.
Another limitation is the number of ports. A typical old router offers only four or five LAN ports, and one of those is used for the connection to the main router. That leaves three or four usable ports. A dedicated network switch is available with five, eight, 16, 24, or even 48 ports. If you need to connect many wired devices, relying on an old router may not be enough. In that case, a standalone switch is a more practical solution.
Dedicated network switches come in two main types: unmanaged and managed. An unmanaged switch is plug-and-play. You connect the power cable and Ethernet cables, and it works immediately without any configuration. This makes it ideal for home users who want a simple expansion of ports. Managed switches offer additional features such as VLAN support, Quality of Service (QoS) settings, and port mirroring. These features are useful for advanced users and small businesses that need more control over their network traffic.
Another consideration is power consumption. An old router used as a switch still operates as a router at its core, which means it may consume more electricity than a dedicated switch. This is because routers include processors, radios, and other components that are not needed in a simple switch. If you leave the old router running 24/7, the energy cost can add up over time, though it is still relatively small.
Physical size and heat are other factors. An old router is larger than a typical small network switch and may run warmer due to its internal Wi-Fi radios. A dedicated switch is usually compact, silent, and designed to operate in a home network environment with minimal heat generation. If you are planning a clean and permanent setup, a dedicated switch will look better and take up less space.
There is also the question of reliability. Old routers were not designed to function solely as switches. While the manual configuration works in most cases, there is always a chance of firmware quirks or unexpected behavior. A dedicated switch, on the other hand, is built for one purpose: forwarding Ethernet frames. It has a simple and stable operating system that rarely requires attention. If you want a set-and-forget solution, a dedicated switch is the safer bet.
For people who enjoy tinkering with technology, repurposing an old router as a switch can be a satisfying project. It teaches you about networking concepts like DHCP, IP addressing, and NAT. It also gives you insight into how routers work and how they differ from switches. If the old router has Gigabit Ethernet ports, the performance will be nearly identical to that of a new unmanaged switch for most home applications. In that scenario, the main difference is the number of ports and the ease of setup.
It is also possible to use both an old router and a dedicated switch in the same network. You could place the old router in one room to provide a few extra ports and install a dedicated switch in another room where you need to connect many devices. This hybrid approach gives you flexibility without requiring a single device with dozens of ports. The old router can be useful in areas where you want a small number of wired connections and do not mind the extra size.
When deciding whether to use an old router as a switch, you should also consider the age and condition of the device. If the router has been sitting unused for years, its capacitors may be worn, and it could fail unexpectedly. In contrast, a new switch comes with a warranty and is less likely to fail in the first few years. For critical applications like a home office where you cannot afford network downtime, a dedicated switch is the wiser investment.
Security is another angle. Old routers often do not receive firmware updates anymore. If you keep Wi-Fi enabled on the old router, it could become a security risk. However, when using it as a switch, you can turn off the Wi-Fi radios entirely. Since the old router is not acting as a gateway, its security features are less relevant. Still, it is best practice to disable wireless and any remote management features. This ensures that the device is not an open door into your network.
If you decide to buy a dedicated switch, prices are quite reasonable. A basic five-port Gigabit unmanaged switch can be purchased for a relatively low price, and an eight-port model costs a bit more. The investment is justified if you value convenience and simplicity. A switch is a compact, reliable, and energy-efficient device that will last for many years. It also frees up your old router to be used elsewhere or properly recycled.
Ultimately, using an old router as a network switch is a viable option for adding a few extra Ethernet ports. It is especially appealing when you already have the hardware and want to avoid extra costs. The setup requires only basic networking knowledge and about ten minutes of your time. However, the limitations of older hardware, particularly 100 Mbps ports and a limited number of ports, may push you toward a dedicated switch. For most modern home networks with fast internet connections, a Gigabit switch is the more future-proof and hassle-free solution.
Source:SlashGear News